
While one can enjoy
a great sense of accomplishment coding an application and see it
work, it can be even more exciting when success manifests itself as
interaction with the physical environment. Such is the attraction in
working with microcontrollers and breadboarding simple sensors to
work with.
But people often get
intimidated in taking the hardware experimentation further once a
soldering iron is required. Let me get you past this with the first
piece of advice; Never hold the hot end of a soldering iron. You are
now past the most intimidating part when it comes to soldering.
Congratulations!
While you may have a great hardware
build idea as a goal, it can quickly overwhelm you in what resources and skills are required to complete it. That is why you should build your experience
and skills in short sprints that
deliver “quick wins” building your sense of accomplishment and
confidence along the way. No better way to start than with kit
building. But how do you get started?
We start with a basic set of tools and a kit that can be built in a single evening.
Basic Tools
Soldering Station
Starting with the most expensive tool , invest in a soldering station. Two good solder stations (in no particular order) are the Hakko FX888D and the Weller WE1010NA. Both are available for just under $100 USD and will serve you well for a long time.

 |
| Weller WE1010NA |
Solder and Solder Removal
 |
| Tin Lead Rosin-core Standard 60/40 |
When you accidentally solder the wrong part into the wrong hole a desoldering pump aka “solder sucker” is your friend. You simply reset the solder sucker vacuum by pressing the plunger, heat the lead you just soldered, put the solder sucker tip near the solder joint, and hit the button to suck the solder.
 |
| Solder Sucker and Wick |
Hitting the plunger again not only resets the tool, but also spits out the solder you previously sucked. So be sure to keep the solder sucker clear.
Solder wick is small flat spool of braided copper that is also used to remove solder. You heat the end of the the solder wick on the solder join and you will see the solder leach into the braid. Once the solder is removed you snip off the piece of braid saturated with solder. Collin Cunningham of Colin’s Lab has produced two good videos on soldering and desoldering.
Circuit Board Holder
 |
| Aven 17010 Circuit Board Holder |
Magnifier
 |
| Flip-Type Head Magnifier |
Even with perfect eyesight there will be times that you will need help seeing the leads on the smallest components. Because you only have so many hands, best to go with a head magnifier with a light built-in. There are different styles of head magnifiers to choose from but I have always found myself going back to the headband style which flips back and forth like a welder’s helmet for under $10 USD.
Start with that style and then experiment with some of others to find what is most comfortable for you.
Cutters,Pliers, and Strippers
 |
| Hakko CMP-170 Micro Cutter |
Now that I can solder and see what I am doing, what about those excess leads I need to cutoff after I have soldered? Dollar store cutters are not going to cut it (pun intended.) Because we are dealing with small components we need diagonal cutters with better precision. This includes micro needle nose pliers and wire strippers. These tools can be found at a sufficient level of quality for $10 USD each from Hakko.
Multimeter
 |
| Crenova MS8233D Multimeter |
Even if electronics knowledge is only elementary as you get into kit building, having a multimeter will help you verify a resistor value if the markings can’t be read, that last solder connection you made is good and there is continuity further up the circuit. Also help you check if your kit is getting power. You want a multimeter that is digital, autoranging, measures voltage – current - resistance, built in fuse, auto-off, backlit, and includes a stand. Sounds like a lot of features but these can be found standard for a $20 USD multimeter. A Crenova MS8233D or similar is good choice.
Now that we have our
tools, what do we build?
Your First Build
As I said, before chasing the big idea you have you should build experience, skills, and confidence. Achieve that feeling of accomplishment by positioning yourself for “quick wins.” Low cost kits that can be built in a single evening are a great choice. In fact order two if they are cheap enough. Start with kits that use only through-hole components. Only consider kits that include SMT if they are already soldered to the board.
Example Simple Kit
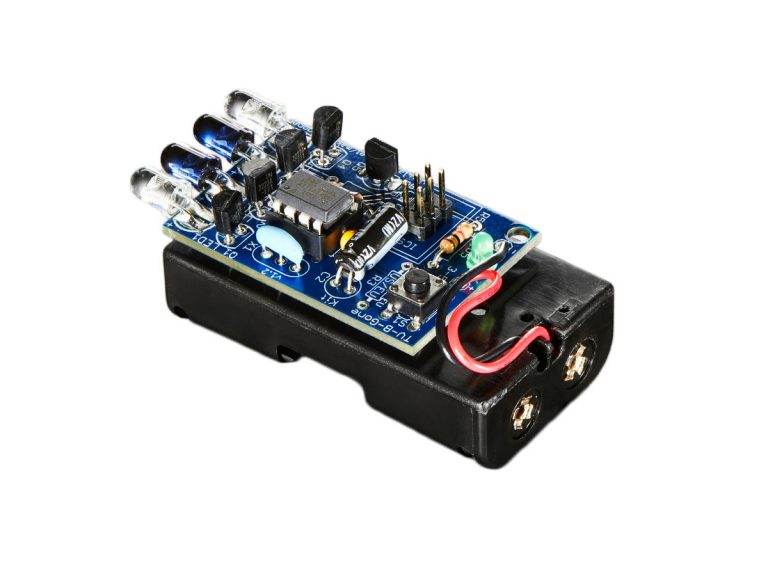 |
| TV-B-Gone Kit |
A first kit I’ve recommended to friends is the TV-B-Gone Kit. Not only is it a kit that can be completed in an evening, but that sense of accomplishment is rewarded with the power to shut off most any TV within 100 feet. BuhhWAHAHA.
Whether you choose
the TV-B-Gone or some other kit, be sure to read all the
documentation included first before unpacking any parts. Sometimes
kits may point you to a web site rather than include printed
material. Again, RTFM and if the docs are available as PDF, download
and print.
Preparation
My home office desk may not be clear, but my workbench is before I begin any project. That includes removing any dust and debris. So be sure to:
-
- Have documentation open
- Board mounted in the vise
-
- Moist sponge ready
-
- Soldering Station turned on and set for around 650F
-
- A coil of solder unspooled
-
- Solder sucker set with solder wick available
Assembly
A well documented kit should have you work in assembly sprints and provide an explanation of the circuit or components as you progress. If a kit does not provide a guide as to what to assemble first go from small non-polarized parts, to parts with polarity, and then larger parts.
 |
| Parts identified and sorted |
-
Resistors
-
Inductors
-
Ceramic Capacitors
-
Crystals
-
Jumpers
-
Diodes
-
IC Sockets
-
Electrolytic Capacitors
-
Transistors
-
Bridge Rectifiers
-
Jacks
-
Variable Capacitors/Resistors
After you have
soldered a grouping or category of parts, double-check that the parts
are in their correct position and, the solder joints look good. That
is when you clip the excess leads, not before.
If your kit requires external connections such as power or audio ensure any cables and connectors you need to add that are not included with the kit are wired with correct polarity. Use the continuity setting on your multimeter to test for this. How do you do this ? Here is an example video on how to use the Crenova MS8233D multimeter.
So you’ve completed your first kit and if it was the TV B Gone you are either bored with turning off TV’s or got caught shutting off all the TVs at the local sports bar. What next?
Since I often find myself interfacing radios with computers for Digital Mode use I order a few Easy Digi Sound Card Interface by KF5INZ from Cliffordwareham via eBay.
In the next article I will go into building this interface and some uses with Baofeng radios as an example. I'll touch upon some other RF kits as we lean in towards microcontroller and RPi integration.
In the next article I will go into building this interface and some uses with Baofeng radios as an example. I'll touch upon some other RF kits as we lean in towards microcontroller and RPi integration.
73,
- Joe, NE2Z
If your kit requires external connections such as power or audio ensure any cables and connectors you need to add that are not included with the kit are wired with correct polarity. Use the continuity setting on your multimeter to test for this. How do you do this ? Here is an example video on how to use the Crenova MS8233D multimeter.
Next Time
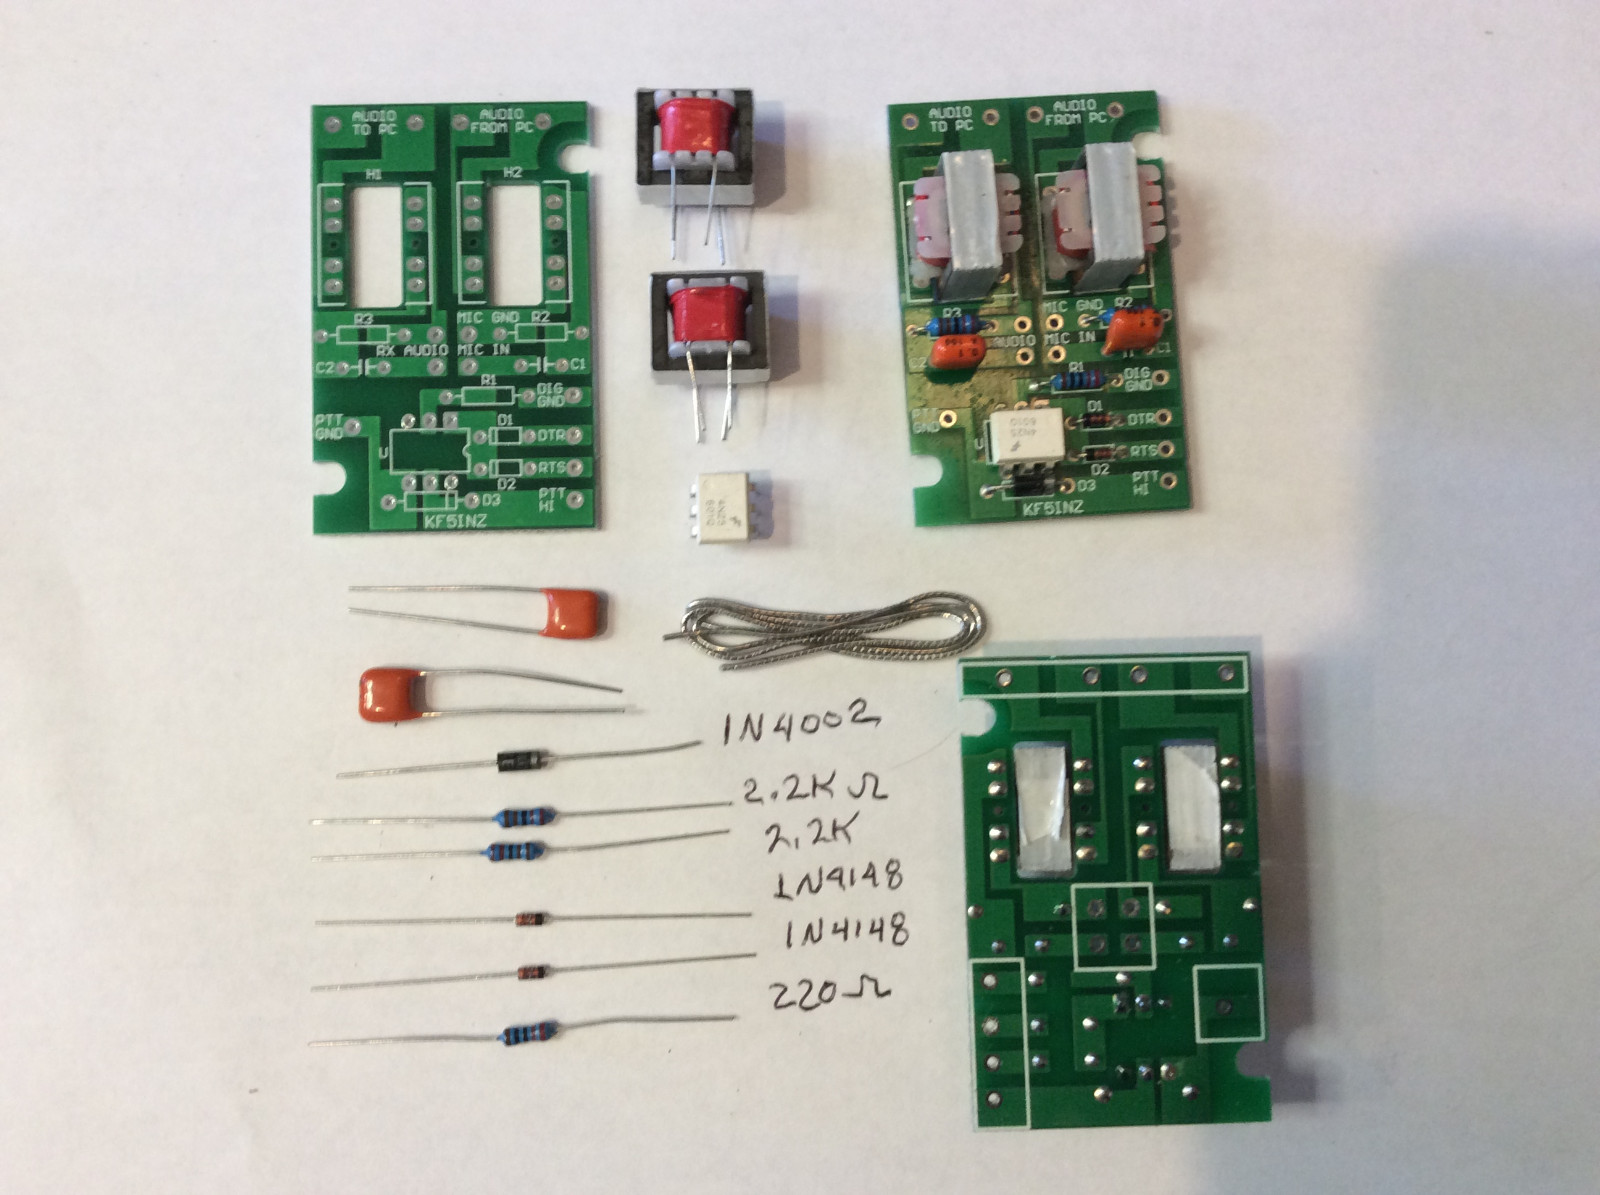 |
| Easy Digi Interface Kit |
Since I often find myself interfacing radios with computers for Digital Mode use I order a few Easy Digi Sound Card Interface by KF5INZ from Cliffordwareham via eBay.
In the next article I will go into building this interface and some uses with Baofeng radios as an example. I'll touch upon some other RF kits as we lean in towards microcontroller and RPi integration.
In the next article I will go into building this interface and some uses with Baofeng radios as an example. I'll touch upon some other RF kits as we lean in towards microcontroller and RPi integration.
73,
- Joe, NE2Z
No comments:
Post a Comment
We really do not want to moderate comments, so lets keep it easy to use until it becomes an issue.